

Laying paving stones yourself is a great way to save money and enjoy creating your own landscaping project. With some basic tools, patience, and attention to quality, this step-by-step guide will support you at every stage.
1. Planning and Preparation
Start by measuring the area to be paved. Mark the boundaries with stakes and string. Determine the slope (for drainage), choose the type of paving stone and the laying pattern.
📌 Tip: Buy 5–10% more paving stones than needed to account for cutting and waste. To choose the right material, check out our article on where and what kind of natural stone paving stones are best to use ↗.
A recommended slope is 1–2 cm per meter towards a drain, lawn, or drainage line to prevent water stagnation.
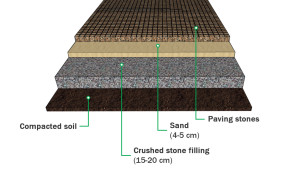
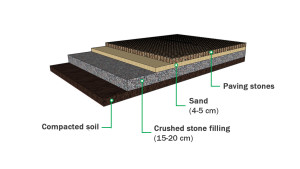
2. Base Preparation
- Excavation: Remove the topsoil to a depth of 25–35 cm depending on soil type, load, and paver thickness.
- Gravel layer: Add 15–20 cm of 20–40 mm gravel and compact it using a plate compactor.
- Sand bed: Spread 4–5 cm of sand, level it, and compact. This forms a bedding layer.


3. Installing Edging
Install edging to keep the paving stones in place and prevent spreading.
Steps:
- Dig a 20–30 cm trench along the edge.
- Add a gravel bed.
- Set the edging in concrete (not just in soil).
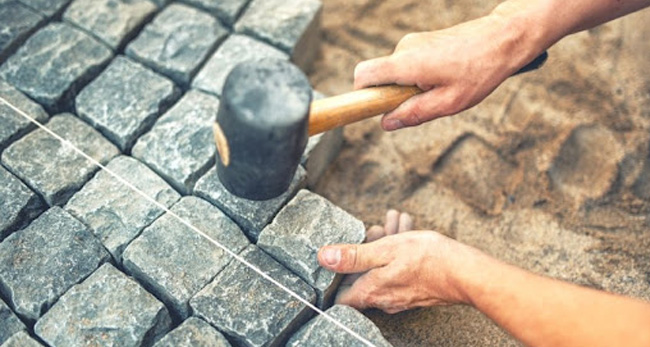
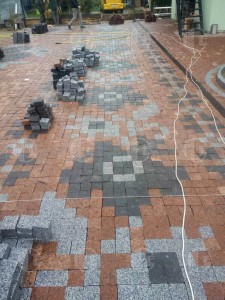
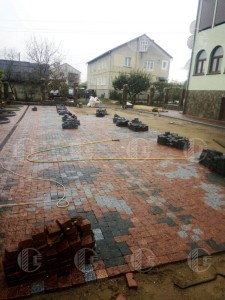
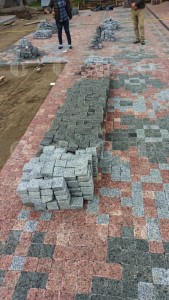
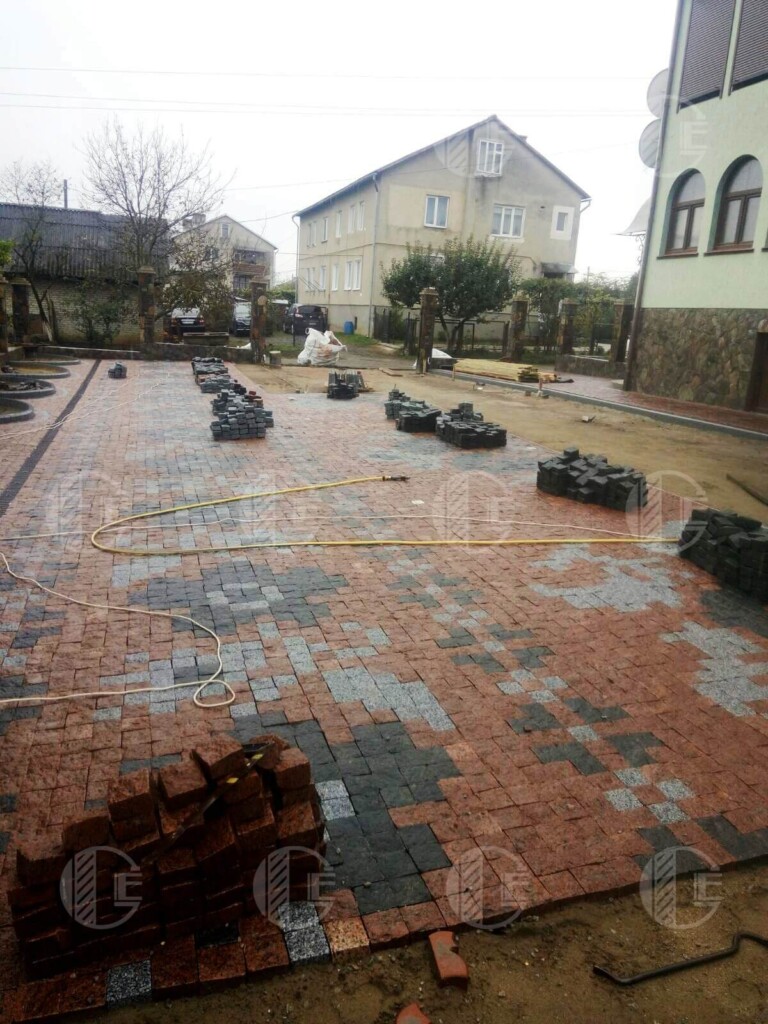
4. Laying the Paving Stones
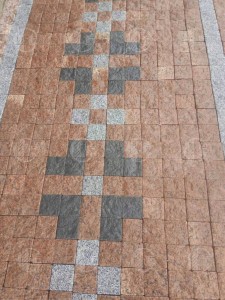
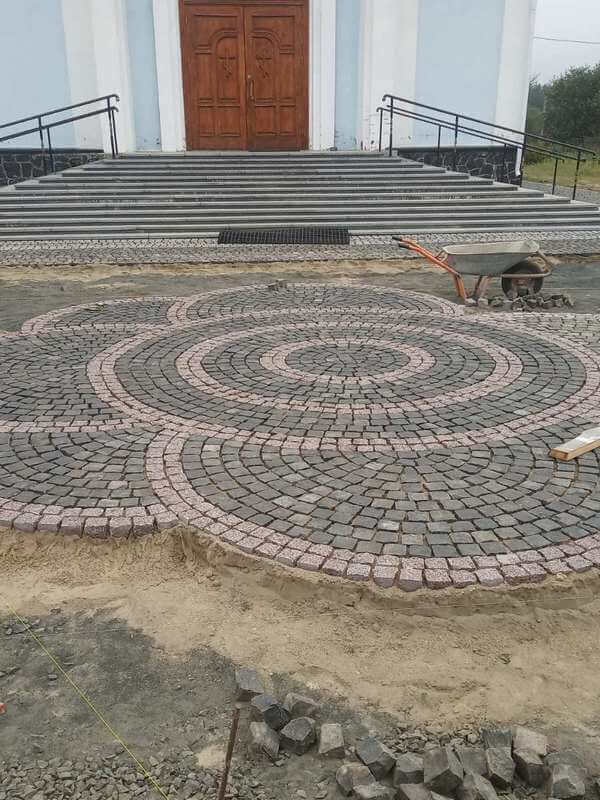
Start from the lowest point or along a straight line. Use a rubber mallet to set each stone and follow your chosen pattern (“herringbone”, “brick bond”, “fan”, etc.).
📌 Tip: Regularly check surface level and slope with a spirit level.


5. Edge Cutting
For fitting pavers at the edges, use an angle grinder with a diamond blade or a tile cutter. Always use eye and hand protection.
6. Joint Filling
Depending on the paving type and load, fill joints with sand, polymeric sand, or a cement-sand mix.
a) Sweep dry sand or polymeric mix into the joints.
b) Polymer sand or resin-based fillers are most effective:
- Prevent weeds and ants.
- Are rain-resistant.
- Provide stronger bonding.
📌 Important: Compact again with a plate compactor after filling to ensure stability.
Note: Dry sand is a budget-friendly option but may require topping up and allows weed growth. Best for walkways or low-load areas.
Use cement-sand mix for driveways or concrete bases under high loads.
Expansion Joints
For large paved areas (over 20 m²) or near buildings, expansion joints are essential to avoid cracking from temperature changes.
- Place every 4–6 meters or 10–15 m².
- Along curbs and building edges.
- Around manholes, pillars, etc.
Use elastic cords or polyurethane sealants, not sand.
⚠️ Important Considerations
- Subsidence risk: Poor compaction may lead to dips or unevenness.
- Vegetation growth: Without proper joint filling, weeds can grow.
- Not for heavy loads: Standard gravel-sand bases suit pedestrians or light vehicles, not heavy machinery.
For heavy-duty areas, install a concrete base for durability. More details: How to lay paving on concrete – step-by-step guide.
When to Use a Concrete Base
If using full-thickness pavers, lay them on a concrete base with a dry cement-sand mix (1:3 ratio). This:
- Improves stability.
- Prevents movement.
- Ensures level installation.
📌 Tip: After laying pavers, sprinkle water on the dry cement-sand mix to fix the stones in place.
Conclusion
Laying paving stones yourself is a completely achievable task, even for beginners. The key is to follow the correct sequence: preparation, solid base, accurate laying, and proper finishing. With the right approach, your paving will not only be functional but also durable.
You can see current samples and options in our granite paving stone catalog ↗.